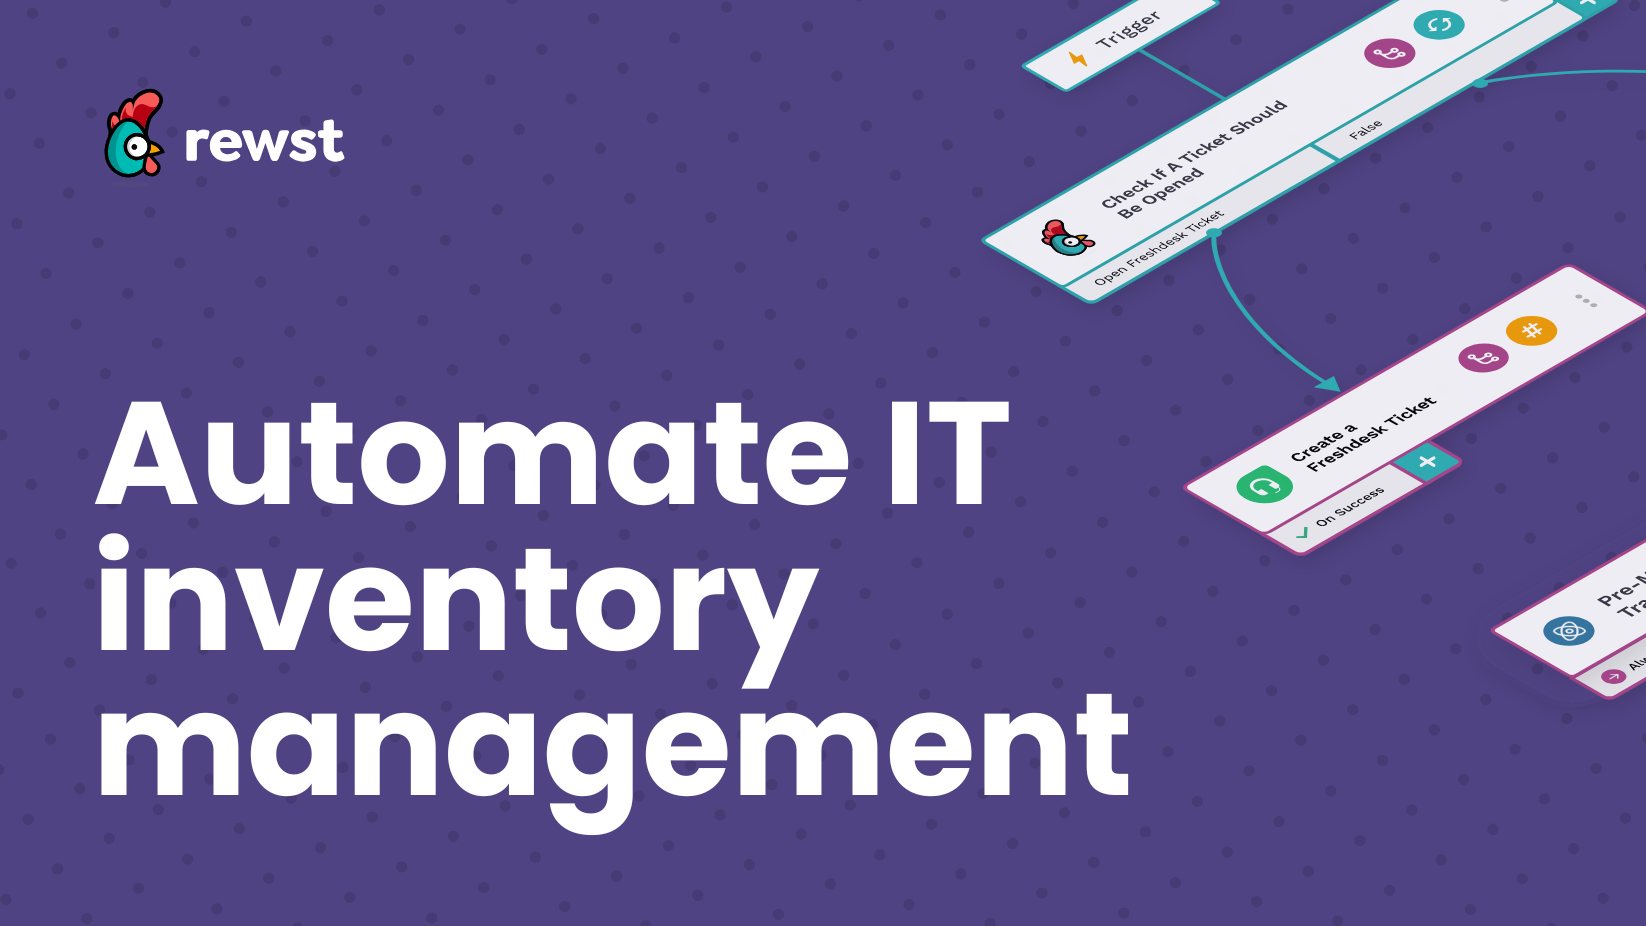
How to automate an RMM migration for a seamless transition
Learn how to automate an RMM migration for a faster, error-free transition. Discover best practices and real-world lessons from one MSP’s success.
When one MSP (let’s call them, ‘ITCrew’) set out to migrate its Remote Monitoring and Management (RMM) platform, various team members knew they needed a plan—and automation would be the key to success.
‘ITCrew’ was merging with another MSP, each using different RMM tools:
Rather than managing two disconnected systems, they decided to standardize on NinjaOne. However, despite its modern design, the MSP still faced a significant hurdle—migrating hundreds of client locations and thousands of endpoints without causing disruption.
Doing this manually would have taken weeks of tedious work. Instead, the team turned to automation—leveraging Rewst and scripting tools to accelerate the process, ensuring a seamless migration while maintaining accuracy.
This article will guide you through the steps Brett and others have taken to automate an RMM migration, helping any MSP move quickly, efficiently, and with minimal disruption.
Why automate an RMM migration?
Think of migrating from one RMM tool to another, like outgrowing your home. When a family of five gets crammed into an 800-square-foot apartment, upgrading to a bigger space isn’t just a luxury. It’s a necessity. The same goes for RMM platforms. As your business scales, an outdated or limited RMM can slow you down, create inefficiencies, and make daily operations more frustrating than they need to be.
At some point, sticking with an inadequate RMM does more harm than good, and migrating to a modern, scalable solution becomes essential. Common reasons MSPs make the switch include:

Many RMM vendors structure their pricing to reward scale, meaning MSPs can save significantly by consolidating licenses. For example, managing 2,000 endpoints under a single license often costs less per device than splitting them across two separate 1,000-endpoint licenses. By migrating to a more scalable RMM solution, MSPs can reduce per-device costs, streamline billing, and eliminate redundant expenses—leading to long-term financial benefits.
Manually migrating hundreds (or even thousands) of endpoints can result in naming inconsistencies, missed deployments, and costly delays. By automating the RMM migration process, you ensure:
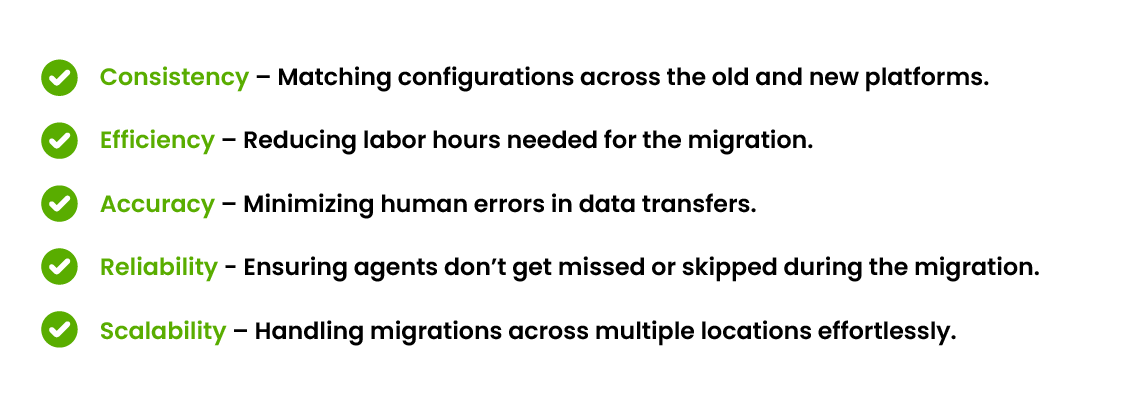
For MSPs managing multiple clients, automation transforms a complex migration into a streamlined process. Keep your “house” and sanity intact while properly configuring endpoints, consistently applying policies, and minimizing downtime.
A Step-by-step guide to automating an RMM migration
Step 1: Assess and map your current RMM environment
Before making any moves, you need to understand what’s in your current RMM and how it translates into your new platform.
Questions to ask yourself:
* Do you have any special patching policies for specific organizations
Customer Example: Cleaning up a decade of RMM data
When ‘ITCrew’ began assessing their RMM migration, their technical account manager quickly realized how much data the MSP accumulated. Having their previous RMM for over a decade lead to a sprawling collection of outdated scripts, policies, and data fields.
To understand what they were working with, the ‘ITCrew’ team exported all custom attributes stored within their previous RMM. The result? A staggering 2.5 million lines of Excel data.
The challenge wasn’t just moving this data. It was figuring out what was still relevant. Manually sorting through it would have been an overwhelming, time-consuming task, but by leveraging Rewst workflows, they were able to:
- Identify and extract critical settings needed for NinjaOne.
- Filter out outdated and unused policies that would only add clutter.
- Ensure naming conventions matched across the PSA, documentation, and the new RMM.
Rewst automated the extraction and analysis of policies and settings from their previous RMM, making it significantly easier to transfer relevant configurations to NinjaOne.
Pro Tip: Before migrating, audit and optimize your existing RMM data. Verify that all device records, policies, and automation scripts are up to date. This not only streamlines the transition but also helps technicians troubleshoot issues post-migration with clear, reliable reference points.
By cleaning up data and reinforcing documentation, you can set up your new RMM for long-term success while avoiding unnecessary confusion. Don’t just transfer everything blindly. Automation can help separate valuable data from outdated clutter, making your new RMM setup more efficient from day one.

Step 2: Automate data extraction and client migration
Once you’ve completed your assessment, the next step is to extract client data from the old RMM and migrate it to the new platform. To do this, you can leverage automated workflows that handle specific migration tasks like:
✔ Extracting client locations and details – A workflow pulls client information from the old RMM, listing all organizations, locations, and relevant metadata.
✔ Comparing old and new RMM structures– Workflows cross-check client locations in the old RMM against the new RMM (e.g., NinjaOne).
✔ Creating missing locations automatically – If client locations don’t exist in the new RMM, Rewst dynamically creates them, maintaining consistency.
✔ Generating RMM installation links – Automation requests installer URLs from your new RMM, associating them with the correct client and location.
✔ Injecting installation links into the previous RMM – Automated workflows update the old RMM’s variables with the new RMM installer links, making deployment seamless.
✔ Deploying the new RMM agent automatically – Automations remotely install the new RMM agent to all client endpoints while ensuring proper grouping and policy assignments.
A structured automation approach empowers MSPs to transition from one RMM platform to another without disruption, ensuring a clean and efficient migration while minimizing manual effort.
Customer Example: Client consistency
‘ITCrew’ automated the process of generating installer links for hundreds of clients in NinjaOne and injected those links into their previous RMM. When it was time to switch RMMs, each location already had the correct setup, making the transition quick and hassle-free.
Result: The automation reduced migration time from weeks to 45 minutes, ensuring consistency across 150-200 client locations.
Step 3: Prevent System Overload with Controlled Deployment
Imagine trying to merge onto a highway during rush hour. If too many cars flood the entrance ramp at once, traffic slows down, and some vehicles get stuck waiting. The same thing happens when too many installation requests hit your new RMM or client systems all at once—leading to slow performance, failed deployments, or even system crashes.
For MSPs automating an RMM migration, overwhelming the new platform or client endpoints with mass installations too quickly can create major bottlenecks. To ensure a smooth rollout, follow these best practices for controlled deployment:
✅ Introduce time delays and retries
Instead of pushing installations all at once, stagger deployments with built-in time delays. If a system is overwhelmed or an installation fails, the automation should pause and retry at set intervals rather than repeatedly sending failed requests.
✅ Batch migration requests
Rather than processing hundreds of installations simultaneously, structure workflows to send smaller batches. This ensures a steady, controlled rollout and prevents network congestion.
✅ Monitor system performance and logs
Track installation progress and flag errors in real time. If failures occur, automation should catch and log them, ensuring no endpoints get left behind.
✅ Use secondary workflows to update migration records
If the new RMM changes installer links or setup instructions, an automated process should update migration records so every device gets the correct installation file, avoiding unnecessary failures.
By pacing the migration and preventing system overload, MSPs can avoid costly downtime, reduce errors, and ensure every endpoint transitions to the new RMM successfully.
Step 4: Testing and Validating the Migration
Testing is the final checkpoint before fully committing to your new RMM. Rather than deploying across all clients simultaneously, start with a pilot migration, moving a small group of endpoints first. This step allows you to catch and resolve potential issues before applying changes at scale.
Use the following questions as a final RMM migration checklist:
A smarter RMM move
Think of migrating to a new RMM like moving to a new house. If you start packing things randomly and throwing them into boxes, you’ll have a chaotic, frustrating move. But when you plan, automate, and validate each step, you:
✔ Take inventory of everything you own (assess current RMM data).
✔ Decide what to keep and leave behind (filter unnecessary configurations).
✔ Label boxes correctly so everything goes in the right place (automate client data mapping).
✔ Hire movers to handle the heavy lifting (use automation workflows to migrate clients, install agents, and apply policies).
✔ Unpack orderly so your new home is fully functional from day one (test and validate the migration).
As we saw with ‘ITCrew’, automating the “moving” process reduces downtime, minimizes errors, and ensures a seamless transition. An automation-first approach means you can relocate your IT infrastructure without headaches, ensuring every endpoint, policy, and integration lands precisely where it should.
Don’t start your RMM migration without a solid plan. Find out exactly how much time and money you can save with automation. Get our Automation ROI eBook and try the ROI Calculator today!


Subscribe to Our Blog
Stay up to date with the latest on our platform, automation, events and news.
We're committed to your privacy. Rewst uses the information you provide to us to contact you about our relevant content, products, and services. You may unsubscribe from these communications at any time.


